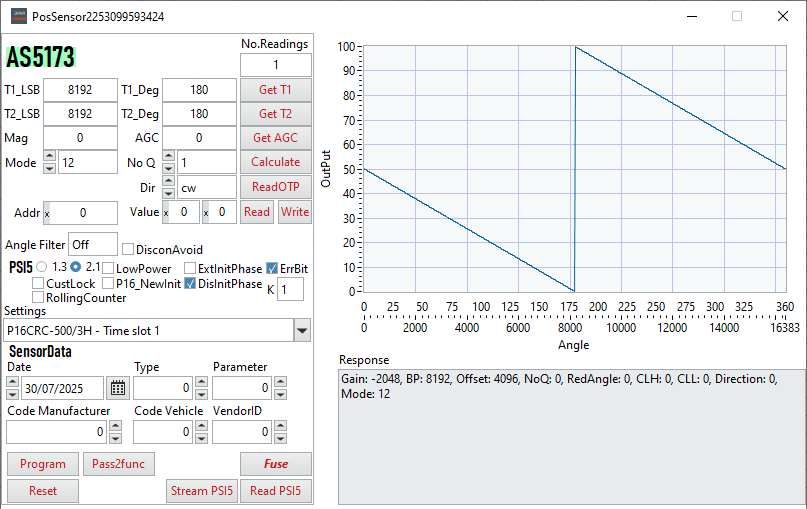
GUI Usage
This section explains how to use the GUI through some examples.
AS5173
Example 1
Segment: 90 °
PSI5 configuration: P16CRC-500/3H - Time slot1
Output resolution: 12 bit
Steps:
Move to the mechanical position one and click Get T1.
Move to the mechanical position two and click Get T2.
Select Mode > 12
Select PSI5 > 2.1
Select Settings > P16CRC-500 - Time slot1
Click Program
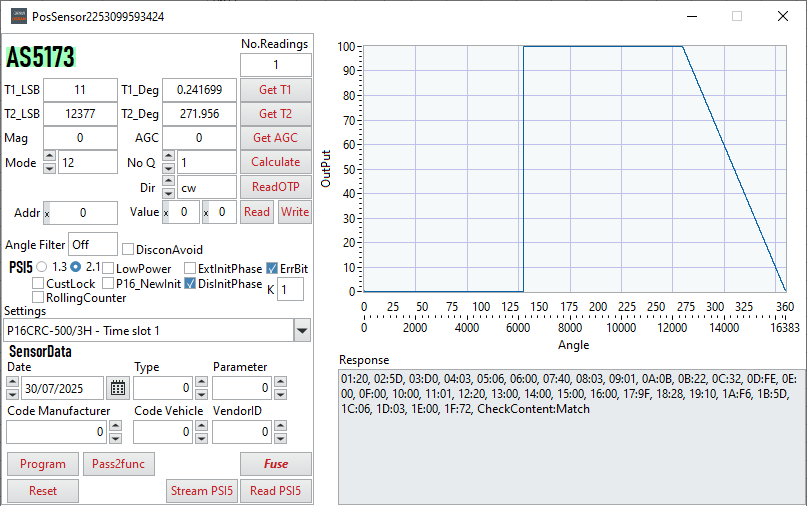
If the sensor is to be programmed permanently, Click Fuse. Otherwise use Pass2func.
Example 2
Segment: 360 °
Zero position: modified
PSI5 configuration: P16CRC-500/3H - Time slot1
Output resolution: 12 bit
Steps:
Move to the mechanical position of zero position.
Click Get T1.
Copy the same value from T1_LSB to T2_LSB.
Select Mode > 12
Select PSI5 > 2.1
Select Settings > P16CRC-500 - Time slot1.
Other metadata can be selected such as Date, Type ,etc.
If the device will be fused, don’t forget to select CustLock.
By default PSI5 initialization data is disabled, if this data is needed, deselect DisInitPhase.
Click Program